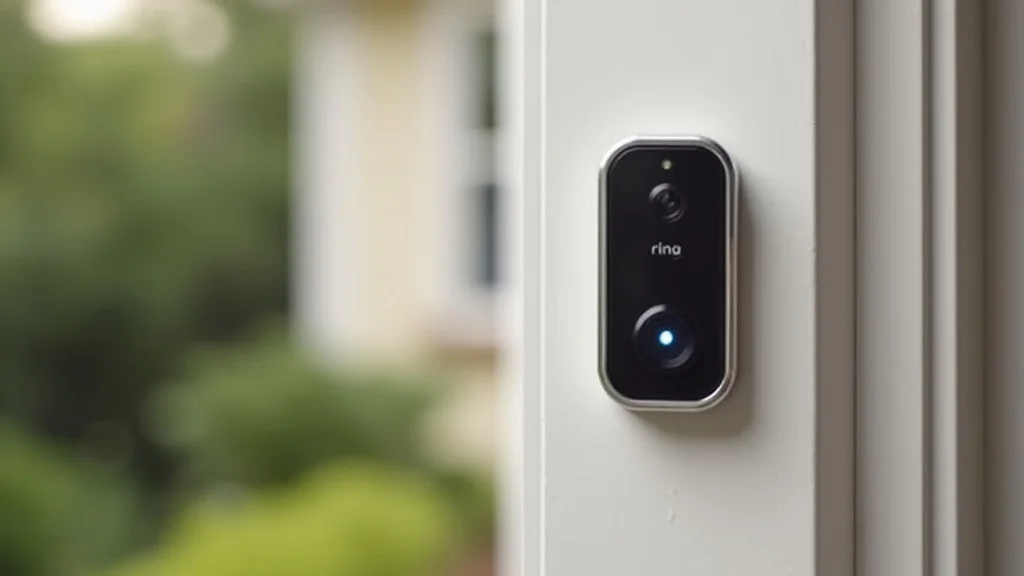
How to Install a Ring Doorbell Camera: A Step-by-Step Guide
Remember that time your neighbor’s package mysteriously vanished? A Ring doorbell camera could have solved that mystery! Installing one might seem like a project, but it’s actually more straightforward than you think. This guide will walk you through the entire process, from gathering your tools to getting your new security system up and running. You’ll gain a solid grasp of the how to install a ring doorbell camera process, ensuring a smooth setup and familiarizing yourself with important safety features. Prepare to transform your front door into a smart, secure entryway and learn the basics for a secure home experience.
Key Takeaways
- Learn about the necessary tools and supplies for the installation process.
- Understand the steps involved in wiring the Ring doorbell camera correctly.
- Discover how to connect your Ring doorbell to your home’s Wi-Fi network.
- Explore the various features and functionalities of the Ring app.
- Gain insight into troubleshooting common issues that may arise.
- Learn tips for optimizing the placement of your Ring doorbell for the best performance.
Preparing for Your Ring Doorbell Installation
Before you even think about grabbing a screwdriver, you need to prepare. This initial phase is about gathering your materials, ensuring safety, and getting familiar with the basic concepts. A successful installation begins with a well-planned approach, making the entire procedure easier and smoother. Taking the time to prepare will reduce potential problems during the actual installation.
Gathering Your Supplies
The first step is to collect everything you’ll need. This will reduce your need for trips to the hardware store and keep the process flowing. Having all your components prepared helps guarantee a clean setup and minimizes the amount of time required to do the installation. Making sure you have everything prepared can really improve the experience.
- Your Ring Doorbell Camera: Make sure you have the specific model you purchased. Different models have slightly different installation requirements.
- Screwdriver: A Phillips head screwdriver is usually required. Consider a magnetic screwdriver to prevent dropping screws.
- Drill (Optional): If you need to drill new holes or mount the doorbell on a hard surface, a drill will be useful.
- Drill Bits (Optional): Have a few drill bits of varying sizes on hand, depending on your mounting surface.
- Level: Use a level to ensure the doorbell is installed straight.
- Wire Strippers/Cutters: Necessary for preparing the existing doorbell wires.
- Electrical Tape: To safely secure and insulate any exposed wiring.
- Pencil: For marking the positions of screw holes.
- Mounting Hardware: This usually comes with your Ring doorbell, but check to make sure. You may need different screws depending on the wall material.
- Chime Kit (if applicable): Some Ring doorbells work with existing mechanical chimes. If yours does, you’ll need the chime kit included or purchased separately.
- Existing Doorbell Wires: Verify the wires are in working order.
Before starting, find the user manual included with your Ring doorbell camera. It contains valuable details specific to your model. Always turn off the power at the circuit breaker that controls your doorbell’s wiring before beginning any electrical work.
Safety First: Power Off and Prep
Electrical safety is your primary concern. Working with electricity can be hazardous, so proceed with caution. The following safety measures are essential to a safe installation. Neglecting safety can lead to electrical shock or damage to your equipment. Proper preparation ensures your safety throughout the installation.
- Turn Off the Power: Go to your home’s circuit breaker panel and locate the breaker that controls your existing doorbell. Turn it off. It’s best to test that the power is off by pressing your existing doorbell.
- Verify Power is Off: Use a non-contact voltage tester (if you have one) on the doorbell wires to confirm the power is off.
- Locate Existing Doorbell Wiring: Determine where your existing doorbell wiring is located. This will likely be near your existing doorbell button.
- Remove Existing Doorbell: Unscrew your old doorbell from the wall and carefully detach the wires.
- Prepare the Wires: Gently strip a small amount of insulation (about 1/4 inch) from the ends of the doorbell wires.
Always double-check that the power is off before handling any wires. If you’re unsure about any part of the electrical work, it’s best to consult an electrician.
Understanding Your Doorbell’s Wiring
Many people find the idea of doorbell wiring intimidating, but it is typically simple. Doorbell systems usually involve low-voltage wires. Knowing how the wiring works will help you integrate your new Ring doorbell camera. Understanding the wiring layout ensures a smooth installation and allows for successful integration with existing components.
- Low Voltage: Doorbell systems use low-voltage wiring, which is relatively safe compared to household electrical wiring.
- Two Wires: Most doorbells use two wires that connect to the doorbell button and the chime.
- Transformer: A doorbell transformer steps down the voltage from your home’s electrical system to a safe level for the doorbell. The transformer is usually located near your electrical panel, chime, or sometimes in a wall outlet.
- Chime Compatibility: Your Ring doorbell is compatible with many existing mechanical and electronic chimes. Some models include a chime kit for this purpose.
- Wiring Diagrams: The Ring app provides wiring diagrams specific to your doorbell model and chime type.
If you’re upgrading from a wired doorbell, these concepts are likely already in place. The new installation follows this principle with modifications for the new device. If you encounter any unexpected wiring, don’t hesitate to consult an electrician.
Installing Your Ring Doorbell Camera: Step-by-Step
This section outlines the actual process of setting up your Ring doorbell camera. Follow these instructions precisely to ensure a clean and effective installation. This process helps minimize potential errors and ensures your new security system works as designed.
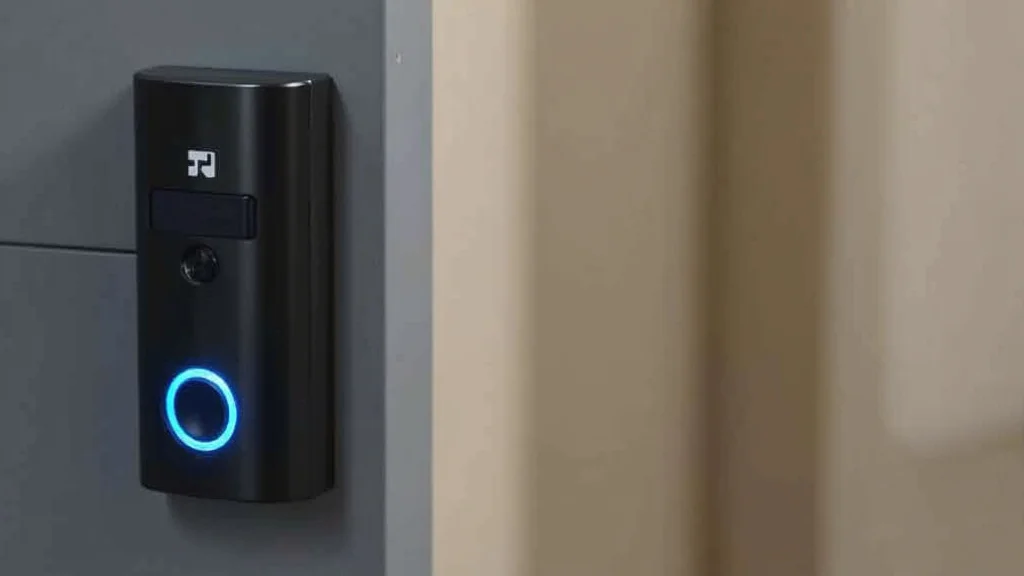
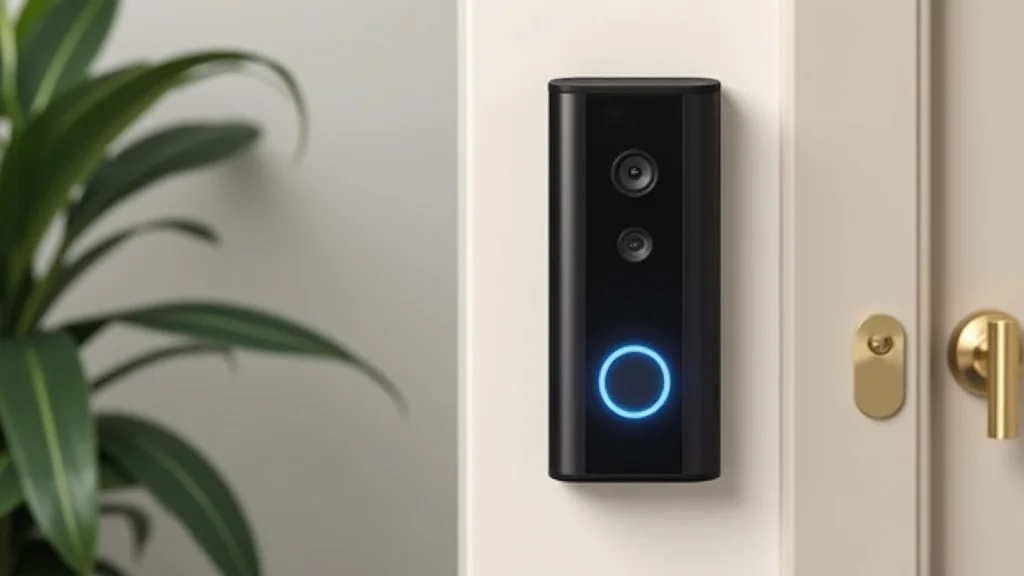
Mounting the Doorbell
Mounting your Ring doorbell securely is critical for its functionality and longevity. The steps involved can vary slightly based on your model and mounting surface. Precise alignment ensures that the device functions correctly. It also ensures it’s resistant to external factors.
- Position the Doorbell: Hold the Ring doorbell against the wall where you want to install it. Use the level to ensure it’s straight.
- Mark the Holes: Use the mounting bracket that came with the Ring doorbell as a template. Mark the positions of the screw holes on the wall with a pencil.
- Drill Holes (if necessary): If you’re mounting the doorbell on a hard surface like brick or stucco, you’ll need to drill pilot holes for the screws. Use the appropriate drill bit size for your screws and the wall material.
- Attach the Mounting Bracket: Secure the mounting bracket to the wall using the screws provided. Make sure it’s firmly attached.
- Connect the Wires: Connect the doorbell wires to the terminals on the back of the Ring doorbell. The terminals are usually labeled (e.g., “1” and “2”).
- Attach the Doorbell to the Bracket: Slide the Ring doorbell onto the mounting bracket and secure it. This process can vary by model, so follow the instructions included with your specific Ring doorbell.
Make sure the doorbell is mounted in a position where it can effectively capture the view of your entryway. Consider the height and angle for the best video capture. Take the time to mount your doorbell securely, as its position is essential to its function.
Wiring the Doorbell to Your System
Proper wiring is essential for your Ring doorbell to function correctly. This typically involves connecting the wires to the doorbell and, in some cases, the internal chime. Correct wiring is what enables the device’s main features to work. The right wiring setup helps integrate your doorbell with your existing home system.
- Connect the Wires to the Doorbell: Attach the doorbell wires to the terminals on the back of your Ring doorbell. The terminals will usually be labeled 1 and 2 or AC. Make sure the wires are securely attached.
- Chime Kit Installation (if applicable): If you’re using a mechanical chime, install the chime kit according to the instructions provided. This usually involves connecting the kit to the chime terminals.
- Connect the Ring Doorbell to the Chime: Follow the wiring diagram provided in the Ring app to connect the doorbell to your chime. This will depend on the type of chime you have (mechanical or electronic).
- Double-Check Wiring: Before restoring power, double-check all your connections to ensure they are secure and properly connected.
- Secure the Wires: Ensure the wires are neatly tucked inside the doorbell’s housing and that no bare wires are exposed.
Consult the Ring app or your manual for specific wiring instructions, which will vary based on your doorbell model and chime setup. A clean and secure wiring setup will contribute to a more reliable system.
Connecting to Wi-Fi and Setting Up the App
After the physical installation is complete, it’s time to connect your Ring doorbell camera to your home’s Wi-Fi network. This process involves the Ring app, where you will manage and customize your device. Proper Wi-Fi connection is key to remotely viewing and using the features of your doorbell. Taking the steps to complete the app setup guarantees you’ll use all of the features the Ring Doorbell camera offers.
- Download the Ring App: Download and install the Ring app from the App Store (for iOS devices) or Google Play Store (for Android devices).
- Create an Account: If you don’t already have one, create a Ring account. Follow the instructions in the app.
- Add Your Device: In the Ring app, tap “Set Up a Device” and select your Ring doorbell model.
- Follow In-App Instructions: The app will guide you through the remaining setup process. This usually includes scanning a QR code on your doorbell, connecting to your Wi-Fi network, and configuring your settings.
- Connect to Your Wi-Fi: The app will prompt you to select your Wi-Fi network and enter your password. Ensure your doorbell is within range of your Wi-Fi router.
- Test Your Connection: After the setup is complete, test the connection by viewing the live video feed. Also, test the doorbell’s button to ensure it sends a notification to your phone.
Make sure you have your Wi-Fi network name and password ready. The Ring app will walk you through each step of the connection procedure. A successful setup gives you the option of remotely viewing and managing your doorbell camera’s features.
Troubleshooting Common Issues
Sometimes, things don’t go according to plan. This section will help you resolve some common problems that might occur during the installation process. Addressing these issues can save you time and frustration and allow you to fully benefit from your Ring doorbell camera. Knowing these troubleshooting steps helps you address potential difficulties without the need for additional help.
Powering Issues
Power-related issues are commonly found during installation. Ensuring that your Ring doorbell is correctly powered is vital for operation. These are the steps to diagnose and correct power issues.
- Doorbell Not Turning On: Make sure the power is turned on at the circuit breaker. Check the wiring connections at both the doorbell and the chime.
- No Chime Sound: Verify the chime kit (if applicable) is correctly installed. Check the chime settings in the Ring app.
- Low Voltage: If the voltage is too low, the doorbell may not function correctly. Consider replacing your transformer with a more powerful one.
- Flickering Video: This could be caused by low voltage or a poor Wi-Fi connection. Check both.
- Power Supply Problems: Check the doorbell’s power source.
If you’ve checked all these things and still have problems, consult the Ring support pages for troubleshooting tips, or contact an electrician.
Wi-Fi Connection Issues
A stable Wi-Fi connection is critical for your Ring doorbell to work effectively. There are a variety of things that can interfere with a good connection. These tips can help you resolve issues related to connectivity.
- Doorbell Not Connecting to Wi-Fi: Make sure your Wi-Fi network is working and that the doorbell is within range. Restart your router and the Ring doorbell.
- Weak Wi-Fi Signal: Move your router closer to the doorbell, or consider using a Wi-Fi extender to improve the signal strength.
- Incorrect Wi-Fi Password: Double-check that you entered the correct Wi-Fi password during setup.
- Interference: Wireless interference from other devices can impact the Wi-Fi signal. Try to reduce potential sources of interference.
- Network Congestion: If your network is busy, it may impact performance. Try reducing the number of devices connected at the same time.
A good internet connection is important for the performance of the device. If problems persist, contact your internet service provider to verify a reliable connection.
Video and Notification Problems
Video and notification issues are common but manageable. These factors must be properly set up for the doorbell to function as intended. These are the methods for resolving problems related to video and notifications.
- No Video Feed: Restart your Ring doorbell. Check your Wi-Fi connection.
- Delayed Notifications: Make sure the notifications are enabled in the Ring app settings. Check your internet connection.
- Poor Video Quality: Check your internet upload speed. Adjust the video quality settings in the Ring app.
- Missing Notifications: Verify the notification settings are correctly configured in the Ring app. Make sure your phone’s notifications are enabled.
- Motion Detection Issues: Adjust the motion sensitivity settings in the Ring app. Experiment with different settings to find the optimal sensitivity for your location.
Review the Ring app settings and make sure everything is correctly configured. A little adjustment in settings can greatly improve performance. Check the signal strength and video quality in the Ring app to ensure a good connection.
Optimizing Placement for Optimal Performance
Where you place your Ring doorbell camera is critical to its performance. The right positioning maximizes the field of view, motion detection, and overall effectiveness of your security system. Taking these placement considerations into account is essential for maximizing its capabilities.
Field of View
The field of view is the area your Ring doorbell can capture. Understanding how to maximize this feature makes sure you see everything happening at your doorstep. These are the important factors to take into account for an effective viewing field.
- Height: Mount the doorbell at the recommended height (usually about 4 feet) for optimal viewing.
- Angle: Make sure the doorbell is angled to capture the full view of your entryway.
- Obstacles: Remove any obstructions that could block the camera’s view, such as overgrown bushes or decorative items.
- Doorway Position: Place the doorbell so that it sees the faces of people walking up to your door.
- Wide Angle Lens: Use the wide-angle lens to maximize the viewing space.
The objective is to capture the best view possible. Consider the potential field of view when you mount your Ring doorbell. Make necessary adjustments to remove obstructions and improve the area it can monitor.
Motion Detection
Motion detection is a key function of your Ring doorbell. Knowing how to maximize this feature ensures you are immediately aware of any activity at your door. These tips improve the accuracy of motion sensing.
- Motion Zones: Use the Ring app to set up motion zones. This will let you focus the motion detection on specific areas.
- Sensitivity: Adjust the motion sensitivity settings in the Ring app to optimize them for your environment.
- Placement: Ensure the doorbell is not facing direct sunlight, which can trigger false motion alerts.
- Testing: Test the motion detection after installation to make sure it’s working properly.
- Sensitivity Adjustment: Fine-tune the settings to eliminate unnecessary alerts.
Adjusting motion zones and sensitivity settings can minimize unnecessary notifications and enhance the accuracy of your security setup. Taking the time to adjust the settings will help you get the most from your doorbell.
Weather Considerations
Weather conditions can affect the performance of your Ring doorbell. Thinking about external factors guarantees maximum effectiveness regardless of conditions. These are the key elements to take into account to ensure the system is at its best, whatever the weather.
- Weather Resistance: Your Ring doorbell is designed to withstand a range of weather conditions.
- Sun and Glare: Avoid direct sunlight, which can affect video quality.
- Temperature: Consider the temperature range for your doorbell. Extreme temperatures can affect performance.
- Rain and Snow: Clean the lens if rain or snow affects the video feed.
- Protection: Use an optional cover to protect from weather effects.
By taking weather into account, you can maintain peak performance, regardless of the elements. Regular inspections and adjustments will help you maintain your doorbell’s efficiency.
Common Myths Debunked
Myth 1: Ring Doorbell Cameras are Difficult to Install
This is a common misconception. In reality, with the right tools and a little bit of preparation, installing a Ring doorbell camera is a straightforward process. The step-by-step instructions in the Ring app and the user manual make the process manageable. The process typically involves basic steps like wiring (which usually is simple), mounting, and connecting to your Wi-Fi network.
Myth 2: Ring Doorbell Cameras Require Professional Installation
Unless you’re uncomfortable with basic electrical work, there’s no need to hire a professional. Most homeowners can easily install a Ring doorbell camera themselves. The instructions are designed to be user-friendly, and online resources are available. Professional installation is only needed if you have complex wiring or want to avoid DIY projects.
Myth 3: Ring Doorbell Cameras Drain Your Wi-Fi Network
While the Ring doorbell uses your Wi-Fi to transmit video, it generally doesn’t significantly impact your internet speed or bandwidth. The impact depends on your network and how you use the device. Modern Wi-Fi systems can handle the bandwidth needs of a Ring doorbell. You may see a slight slowdown during heavy usage, but it’s usually not noticeable.
Myth 4: Ring Doorbell Cameras Are Only for Tech-Savvy People
Ring doorbells are built to be user-friendly and accessible to people of all technical abilities. The Ring app is simple to use and has an intuitive interface that makes it easy to set up and manage your device. You don’t need any special technical skills to install or use a Ring doorbell camera effectively.
Myth 5: Ring Doorbell Cameras Are Always Recording
While the doorbell records video when motion is detected or when someone presses the button, you have control over the recording settings. You can adjust the motion detection settings to trigger recordings only when necessary. Furthermore, you can choose to enable or disable recording features based on your personal preferences and privacy concerns. This gives you control over what is recorded.
Frequently Asked Questions
Question: How long does a Ring Doorbell camera installation take?
Answer: It usually takes about 30 minutes to an hour, depending on your experience and the complexity of your wiring. Prepare all your materials beforehand.
Question: Do I need to be a tech expert to install a Ring Doorbell?
Answer: No, the installation is straightforward, and the instructions are easy to follow. Basic tools and a willingness to follow the steps are all you need.
Question: What if my existing doorbell wiring doesn’t work?
Answer: You can consult an electrician, or you can opt for a battery-powered Ring doorbell model.
Question: Can I use a Ring Doorbell if I don’t have an existing doorbell?
Answer: Yes, you can use a battery-powered model, which does not require existing doorbell wiring. These are designed to work without existing wiring, providing an easy installation process.
Question: Is a Ring Doorbell safe from theft?
Answer: Ring doorbells have security features to prevent theft. Many models feature a screw-in design that makes it difficult to remove. Also, Ring offers replacement if the doorbell is stolen.
Final Thoughts
Congratulations! By following the steps in this guide, you now know how to install a Ring doorbell camera and have improved your home’s security. Remember that the key is to prepare everything and turn off the power before getting started. By mounting the doorbell correctly, properly wiring it to your system, and connecting it to your Wi-Fi, you’ve taken a major step toward smart home security. Always remember to double-check your connections and test the system after installation. With a little effort, you can transform your front door into a smart, secure entryway. Now go ahead and enjoy the peace of mind and convenience that your Ring doorbell provides!